Share your love
Install Zabbix on Rocky Linux 9: Comprehensive Guide
This guide on the Orcacore website intends to teach you How To Install Zabbix on Rocky Linux 9. Zabbix is defined as an open-source monitoring tool that is used to monitor servers, networks, IT components, cloud services, and virtual machines.
The Zabbix monitoring tool is used to provide monitoring metrics and monitor network usage, disk space consumption, and CPU load. The tool supports various operating systems like Mac OS, Solaris, Linux, and many more. The tool uses a separate database to store the data and monitor the applications. Zabbix Monitoring Tool is developed in C programming language, and PHP language is used for the web front.
Table of Contents
Steps To Install Zabbix on Rocky Linux 9
To complete this guide, you must log in to your server as a non-root user with sudo privileges and set up a basic firewall. To do this, you can follow our guide on Initial Server Setup with Rocky Linux 9.
Also, you need to have the LAMP stack installed on your server. To do this, you can check our guide on How To Install LAMP Stack on Rocky Linux 9.
When you are done, follow the steps below to Install Zabbix on Rocky Linux 9.
1. Download Zabbix LTS on Rocky Linux 9
At this point, you need to visit the Zabbix Downloads Page and check the latest LTS version.
Then, you need to use the following commands to add the Zabbix repository on AlmaLinux 9:
# sudo rpm -Uvh https://repo.zabbix.com/zabbix/6.0/rhel/9/x86_64/zabbix-release-6.0-4.el9.noarch.rpm
# sudo dnf clean all
2. Install Zabbix LTS on Rocky Linux 9
Now you can use the following command to install Zabbix monitoring on your server:
sudo dnf install zabbix-server-mysql zabbix-web-mysql zabbix-apache-conf zabbix-sql-scripts zabbix-selinux-policy zabbix-agent -yWhen your installation is completed, you need to create a Zabbix database and user.
3. Create a Zabbix Database and User
Log in to your MariaDB console with the following command:
sudo mysql -u root -pNext, from your MariaDB console run the following command to create a user, here we named it orca, you can choose your desired name. Remember to choose a strong password for your user.
MariaDB [(none)]> CREATE USER zabbixuser@localhost IDENTIFIED BY 'password';Create the database with the command below:
MariaDB [(none)]> CREATE DATABASE zabbixdb character set utf8mb4 collate utf8mb4_bin;Now grant all the privileges to the Zabbix database user:
MariaDB [(none)]> GRANT ALL PRIVILEGES ON zabbixdb.* TO zabbixuser@localhost;Flush the privileges and exit from your MariaDB console with the command below:
MariaDB [(none)]> FLUSH PRIVILEGES;
MariaDB [(none)]> EXIT;
Import Database Schema
Here you need to import the database schema with the following command:
# sudo zcat /usr/share/zabbix-sql-scripts/mysql/server.sql.gz | mysql --default-character-set=utf8mb4 -u zabbixuser -p zabbixdbYou will be asked to enter your Zabbix user password.
Change Database Settings on Zabbix Configuration File
Now you need to edit the Zabbix configuration file on Rocky Linux 9.
Open the file with your favorite text editor, here we use vi editor:
sudo vi /etc/zabbix/zabbix_server.conf
Find the line below and change them to your database settings:
DBHost=localhost
DBName=zabbixdb
DBUser=zabbixuser
DBPassword=password
You need to uncomment the DBHost and DBPassword lines by removing the “#” from the beginning of the lines.
When you are done, save and close the file.
4. Configure PHP-FPM on Rocky Linux 9
At this point, you need to specify the timezone setting in the Zabbix configuration on Rocky Linux 9. To do this, run the command below:
sudo vi /etc/php-fpm.d/zabbix.confFind the line below and uncomment it by removing the “;” from the beginning of the line and adding your timezone:
php_value[date.timezone] = America/New_YorkWhen you are done, save and close the file.
Restart all the services to apply the changes:
sudo systemctl restart zabbix-server zabbix-agent httpd php-fpmTo enable the services to start on boot, run the following command:
sudo systemctl enable zabbix-server zabbix-agent php-fpm5. Configure SELinux and Firewall on Rocky Linux 9
At this point, you need to set SELinux to be allowed to access the Zabbix front on Rocky Linux 9. To do this, run the following command:
# sudo setenforce 0
# sudo sed -i 's/SELINUX=enforcing/SELINUX=permissive/g' /etc/selinux/config
Then, you need to allow traffic on ports 10050 and 10051 through the Rocky Linux firewall with the command below:
# sudo firewall-cmd --add-service=http --permanent
# sudo firewall-cmd --add-port={10051,10050}/tcp --permanent
Reload the firewall to apply the changes:
sudo firewall-cmd --reload6. Access the Zabbix Monitoring Dashboard
At this point, you have learned to Install Zabbix on Rocky Linux 9. Here you access the Zabbix web interface on Rocky Linux 9 by typing your server’s IP address in your web browser followed by /Zabbix:
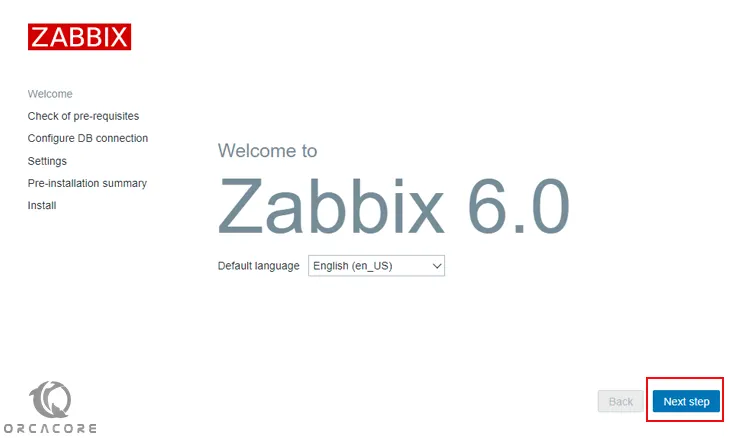
http://server-ip/zabbixYou will see the Zabbix welcome page just click on the next step.
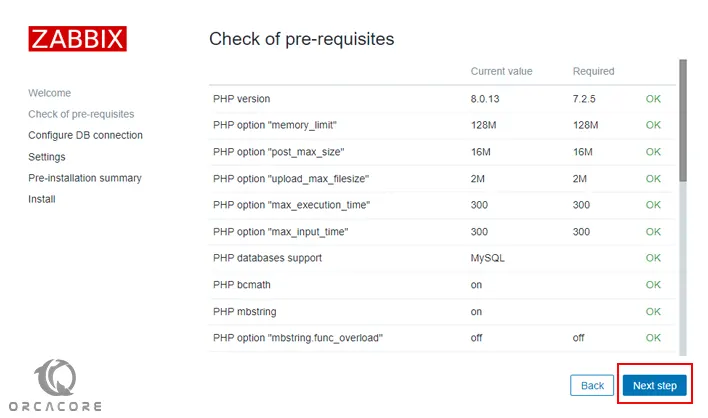
In the next window, you will see the check for the prerequisites. Make sure all the required PHP extensions are installed then click on the Next Step button.
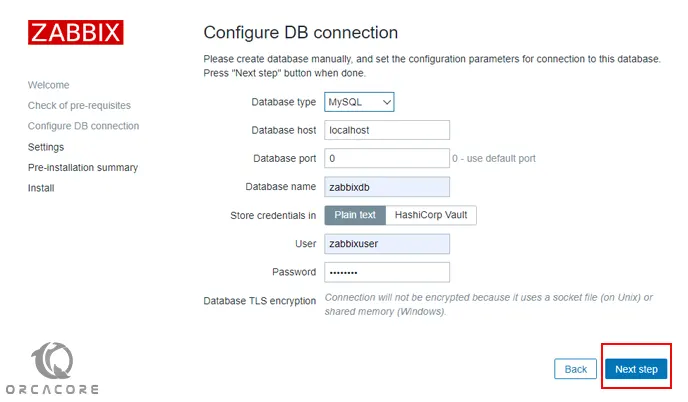
Then, you will see the configure DB connection page. Set your database details and click on the next step.
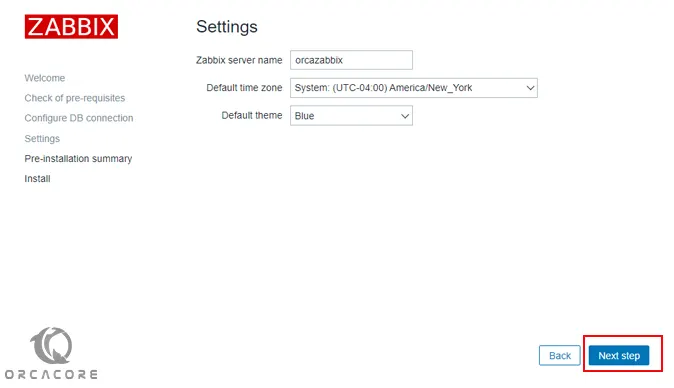
Next, you need to choose the server name and default theme and click the Next step.
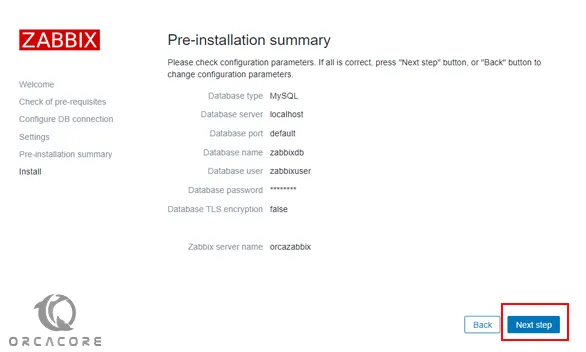
Here you need to check the pre-installation summary and click Next step.
Next, you need to click on the finish button to complete your Zabbix 6.0 installation.

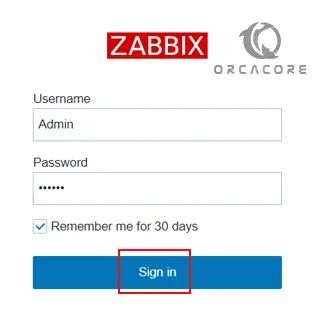
Now you will get into the Zabbix login screen. Enter the Admin as the username and zabbix as the password and click on the sign-in button.
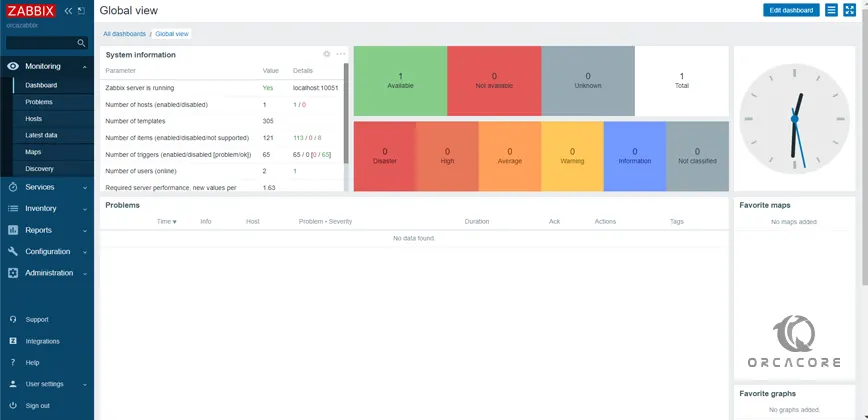
At this point, you will see your Zabbix dashboard.
Conclusion
At this point, you have learned to Install Zabbix on Rocky Linux 9 step by step and access your dashboard from the web interface. Hope you enjoy it.
Also, you may like these articles:
How To Install Plesk on Rocky Linux 9