Share your love
Best NoMachine Remote Desktop Setup on Windows 10 / 11

This tutorial intends to teach you to Step by Step NoMachine Remote Desktop Setup on Windows 10 / 11. NoMachine is a remote desktop application. You can easily use this app to connect multiple machines remotely. It uses the NX protocol and also it provides a secure connection. Now you can proceed to the following steps provided by the Orcacore website to see why you should use NoMachine instead of RDP and start the installation steps on Windows.
Table of Contents
Differences between NoMachine and RDP
Here we want to discuss the differences between NoMachine and RDP.
NoMachine provides cross-platform support. It means that you can use it on different operating systems such as Windows, MacOS, Linux, etc. But RDP is used in Windows.
Also, NoMachine is known for its high-performance user experience. In NoMachine you can access your remote machine over the internet without any network configurations. But in RDP you need to configure port forwarding on the router.
RDP and NoMachine have the same features but NoMachine offers session recording, Web access, and In-session chat.
NoMachine has both free and paid versions. But RDP is a built-in feature in Windows that is available for free for the users.
These differences make NoMachine a good option to use as your remote desktop over RDP. You can follow the steps below to start NoMachine Remote Desktop Setup on Windows 10 / 11.
Steps To NoMachine Remote Desktop Setup on Windows
In this guide, we use the NoMachine free version. To complete this guide, log in to your Windows Client and follow the steps below. In this guide, we use Windows 11 to show you the installation steps.
Step 1 – Download NoMachine For Windows
First, you must visit the official downloads page and get the app for Windows.
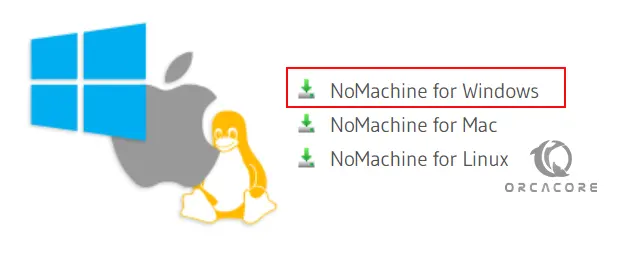
Then, choose a 32-bit or 64-bit version depending on your system.
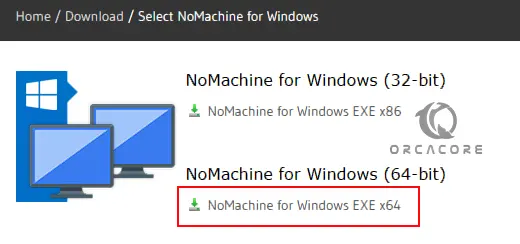
Next, click on the Download button.
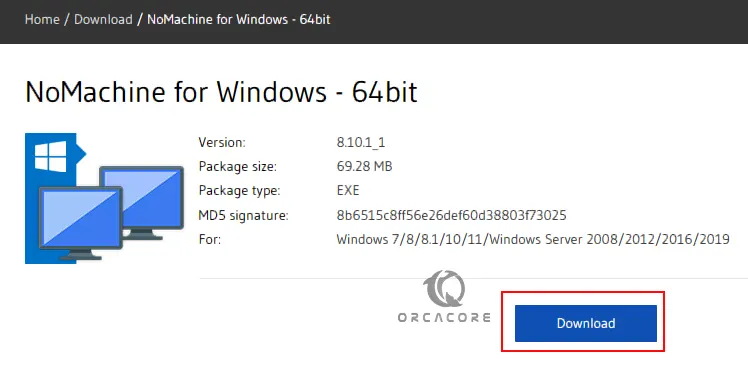
Once your download is completed, open your download file to run the installer.
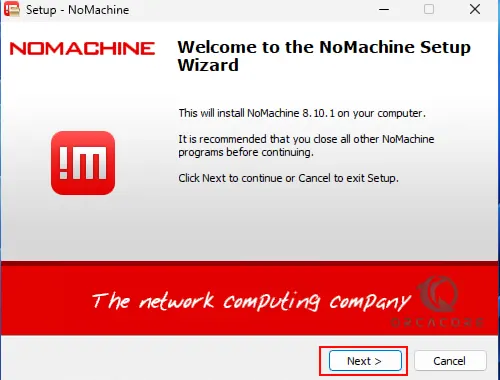
Step 2 – NoMachine Setup Steps on Windows
At this point, you will see your setup wizard. On the welcome screen, click Next.
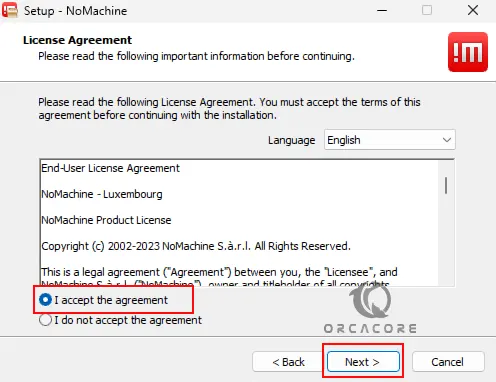
Then, accept the agreement and click Next.
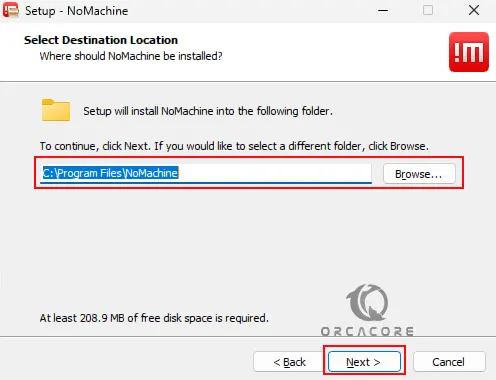
Now you need to select your NoMachine installation folder or accept the default and click Next.
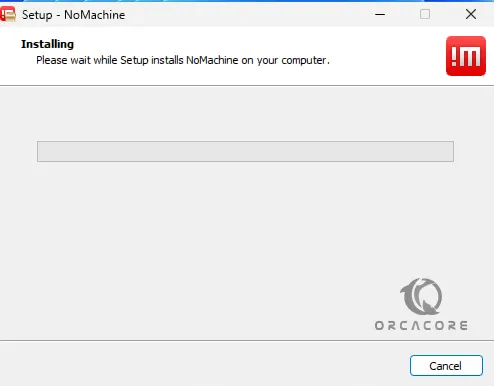
Finally, wait until your installation process is completed.
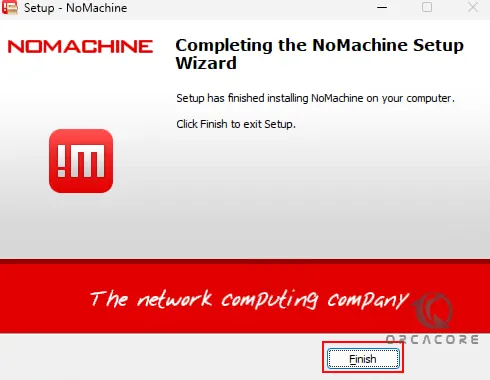
Then, click Finish.
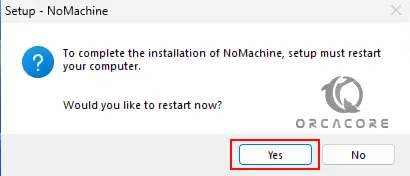
At this point, you must restart your Windows system. Click Yes.
Step 3 – Access NoMachine Remote Desktop
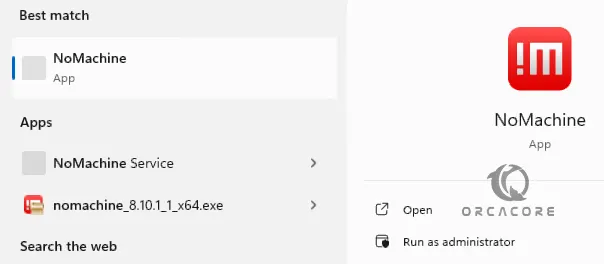
Once you log back, from your search bar, search for NoMachine and open the app on Windows. Or from your desktop menu click on the Nomachine icon.
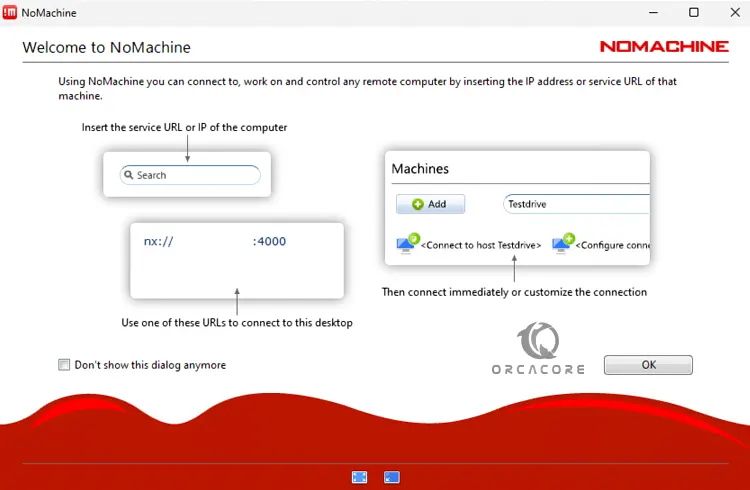
Then, you will see the following Welcome screen. This will show you how you connect to remote machines. Also, it provides you with the URL that other machines can connect to you. If you don’t want to see this message again, check the box next to Don’t show this dialog anymore and click OK.
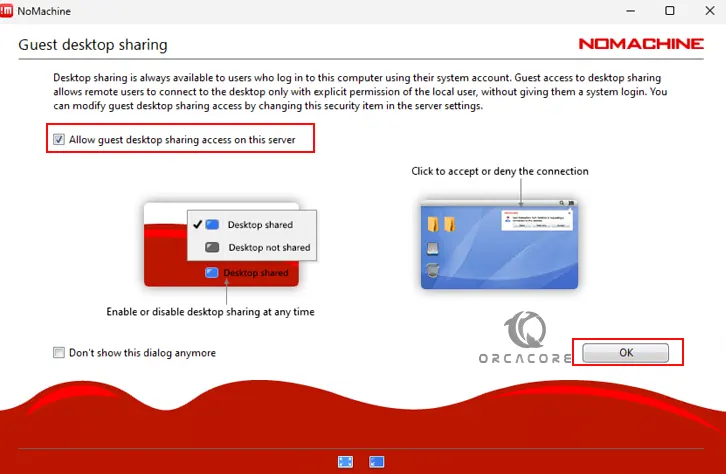
Next, you will see the guest’s desktop sharing screen from NoMachine Setup on Windows. You can enable this option to allow anybody to log in to your Windows and access the NoMachine. If you don’t want this to happen, uncheck the allow guest sharing and click OK.
Now you will see your NoMachine dashboard.
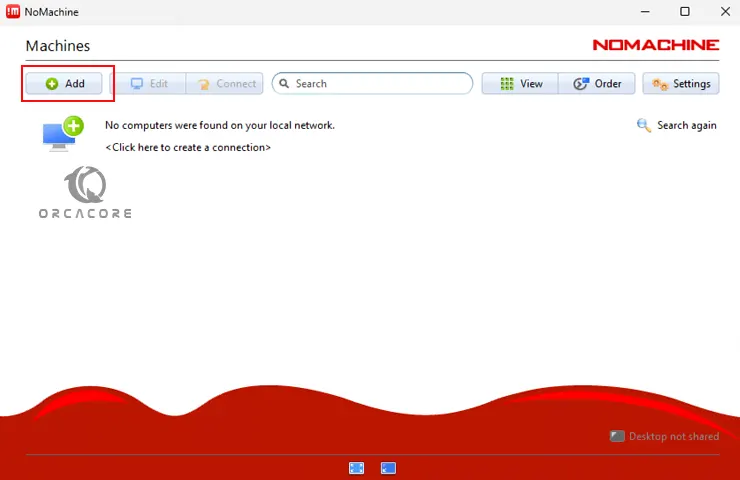
Step 4 – Connect To Remote Systems with NoMachine on Windows
At this point, you can click on the Add button and give a name and the settings for your remote connections.

Then, click on Add. You will see your remote connection in your dashboard. From there you can easily connect to your remote machine. From there, you will be asked to enter the remote username and password credentials to access your remote machine.
Important Note: If you have problems connecting to your remote machines, first, be sure to enter the correct credentials. Also, open UDP port 4000 on both of your machine’s firewalls.
Conclusion
At this point, you have learned NoMachine Remote Desktop Setup on Windows 10 / 11. You can easily download the installer exe for your Windows machine and start your installation. Once done, you can access your app and start to connect to your remote machines.
Hope you enjoy using it. Also, you may like to read the following articles: