Share your love
Easy Guide for Plesk Installation on Debian 12 From Command Line
This tutorial will show you the Plesk Installation on Debian 12 From Command Line and Access the Plesk dashboard via the Web interface. Plesk is a web hosting platform with a control panel allowing administrators to set up websites, DNS, databases, email accounts, etc. Also, Plesk is a great control panel for VPS and dedicated servers. Plesk comes with amazing features including a modern web stack, integrated security, web project lifecycle, backup and restore, Domain and Email management, WordPress Toolkit, etc.
You can easily set up Plesk Obsidian using a web installer script on your server. To do this, you can follow the rest of the article on the Orcacore website to start your Plesk installation on Debian 12.
Table of Contents
Plesk Installation on Debian 12 From Command Line
Before you start your Plesk installation, you must log in to your server as a non-root user with sudo privileges and set up a basic UFW firewall. For this purpose, you can check the Initial Server Setup with Debian 12 Bookworm.
Note: To get more UFW settings on Debian 12, you can visit UFW Firewall Configuration.
Now proceed to the following steps to start your Plesk Installation on Debian 12 From Command Line.
Step 1 – Download Plesk Web Installer on Debian 12
First, you must run the system update by using the following command:
sudo apt updateThen, use the following wget command to download the Plesk installer script on your server:
sudo wget https://autoinstall.plesk.com/plesk-installerOnce your download is completed, set the correct permissions for your file to make it executable:
sudo chmod +x plesk-installerNow you can proceed to the following step to run the Plesk installer and start your installation process on Debian 12.
Step 2 – Install Plesk From the Command Line on Debian 12
At this point, you can use the following command to run the Plesk installer on Debian 12:
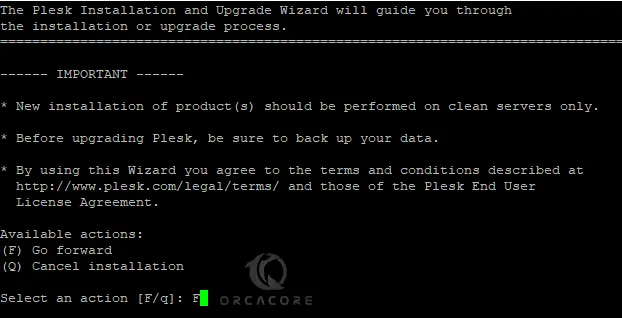
sudo ./plesk-installerFirst, you must press F to go forward with your Plesk installation.
Next, you can press Y or N as your will to send information about your issues.

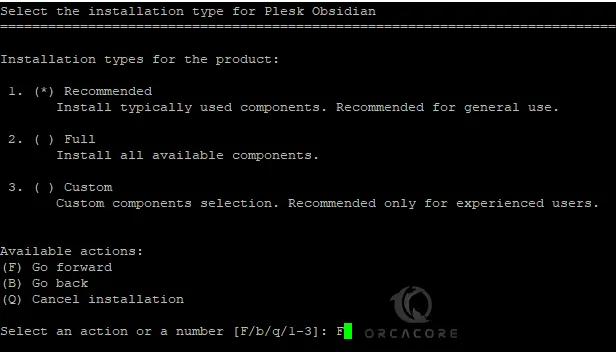
At this point, you must select the installation type of Plesk on Debian 12. Choose the recommended one and press F to continue.
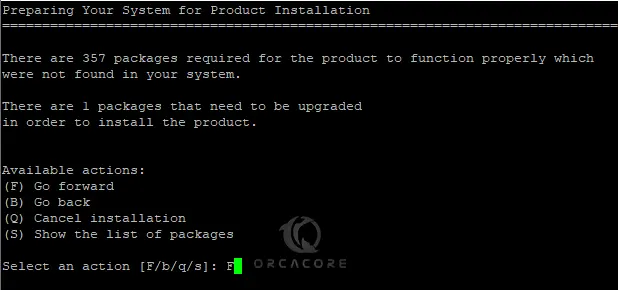
You may get the system requirements and dependencies that need to be upgraded or installed. Press F to continue.
Wait until your Plesk installation is completed. You should get the following output:

As you can see, the Plesk installer provides you URL where you can access your Plesk dashboard from the web interface.
Step 3 – Start Plesk Panel on Debian 12 Command Line
At this point, you can start your Plesk panel by using the following command:
sudo service psa start
Then, you can verify your Plesk is active and running on Debian 12 by using the following command:
sudo service psa statusExample Output:

Step 4 – UFW Firewall Rules for Plesk Panel on Debian 12
Here we assumed that you have enabled the UFW firewall. At this point, you must allow 8880 and 8443 ports through your firewall. To do this, you can run the following commands:
# sudo ufw allow 8880/tcp
# sudo ufw allow 8443/tcp
Then, reload the firewall to apply the new rules:
sudo ufw reloadStep 5 – Access Plesk Panel via Web Interface
Finally, you can access your Plesk Panel by using the URL provided by the Plesk installation on Debian 12. Or you can follow your server’s IP address in your web browser by using the 8880 or 8443 ports:
http://server_Ip_Address:8880
Or
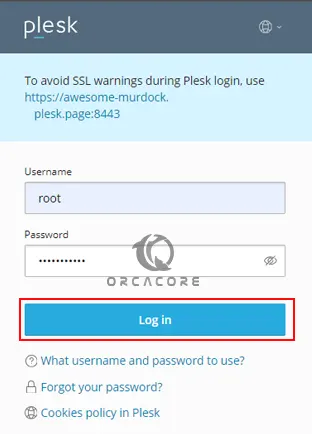
https://server_Ip_Address:8443You will see your Plesk Login screen. Enter your server’s root username and password and click Log in.
Next, you need to provide your contact information and set a password for the Plesk admin user.
Also, you will be required to provide the License or continue with the free version (trial version). Then, press the Enter Plesk button.

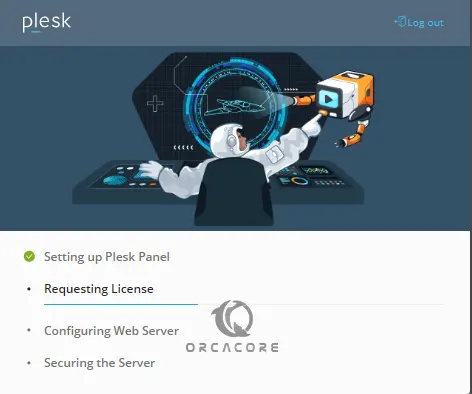
Wait for the Plesk setup to be completed.
Then, you will see your Plesk dashboard. If you use the trial version, you have 15 days of free use. Then, you can purchase a license.
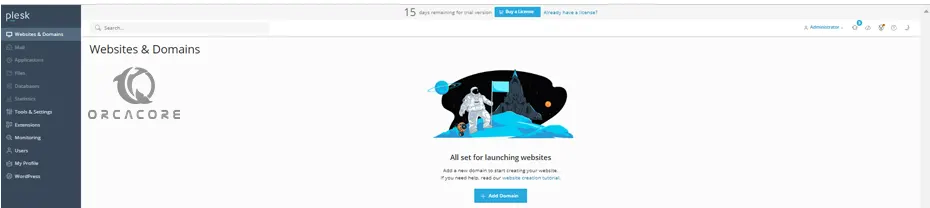
From there, you can manage your sites and web applications. also, you can automate different development tasks.
Conclusion
At this point, you have learned the Installation steps of Plesk Obsidian on Debian 12 Bookworm from the terminal command line and you can easily access your Plesk Panel via the web interface. From there you can start to manage your sites and apps.
Hope you enjoy using it. Also, you may interested in these articles:
Network Monitoring with OpManager on Debian 12