Share your love
Set up and Use Winget on Windows 11 – Easy Steps
This guide intends to teach you to Set up and Use Winget on Windows 11. Winget in Windows 11 is a command-line package manager that is used for installing, updating, and managing software applications. With Winget, users can quickly install multiple applications without the need to visit individual websites or rely on third-party package managers. It also ensures that installed applications are up to date by enabling easy updates through the command line interface.
Now follow the steps below provided by the Orcacore team to set up and use Winget on Windows 11.
Table of Contents
Steps To Set up and Use Winget on Windows 11
To complete this guide, you must log in to your Windows Client and follow the steps below. First, we start to check the status of Winget if it is installed by default or not.
Step 1 – Check Winget Status on Windows 11
By default, Winget must be installed on Windows 11. To verify it, open the PowerShell as an Administrator and run the command below: Or you can use Command Prompt.
wingetIf the Winget tool is installed, you should see:
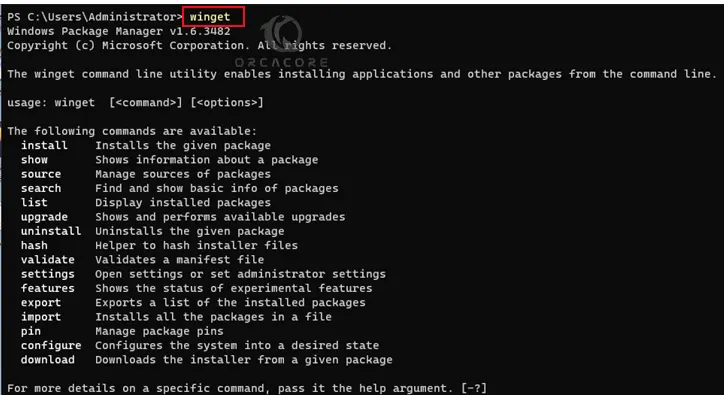
If you don’t have Winget installed on your system, the system will not recognize it. So you can proceed to the next step to install it.
Step 2 – Install Winget Tool on Windows 11
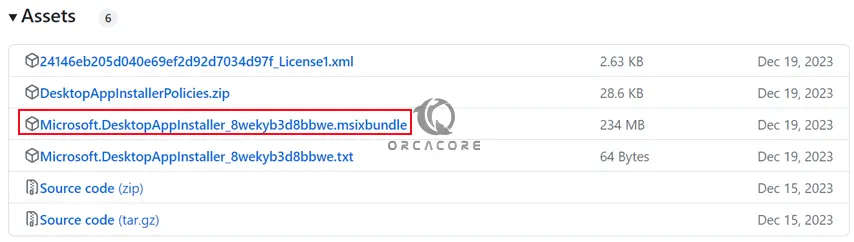
At this point, you can simply visit the GitHub Winget Page and get the latest release of Winget. Click the .msixbundle file to start the download.
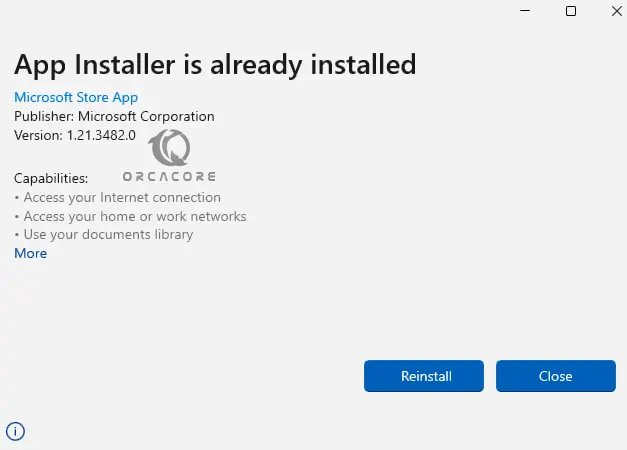
Then, you will the following screen, from there, you can install your App Installer. Because we have Winget installed, we see the following screen:
Wait for the installation process to finish. The app may automatically install additional dependencies required for the Winget to work.
Step 3 – Use the Winget CLI Tool on Windows 11
At this point, you can start to use Winget on Windows 11 from the terminal.
To search for a package, you can run the following command:
winget search package-nameFor example:
winget search chrome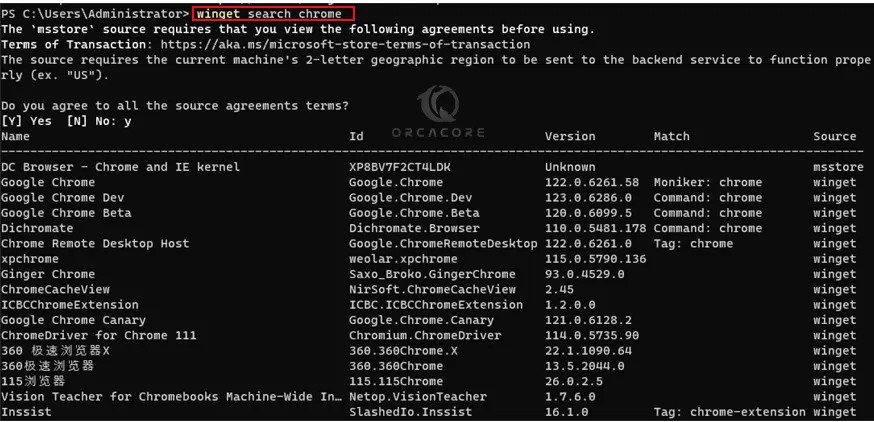
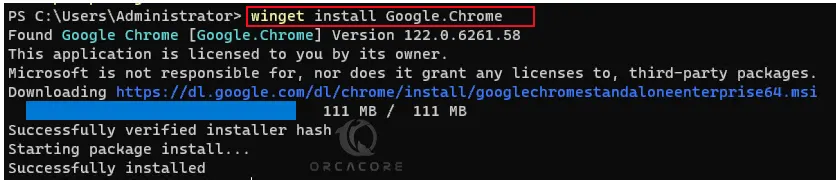
Once you search for your desired package, you can install the package by using the command below:
winget install package-IDFor example:
winget install Google.ChromeThis will easily install Chrome on Windows 11 from the Command Line with a single command. When your installation is completed, you will get the following output:
Another usage of Winget is to display information about installed packages. The syntax of it is like this:
winget show package-IDFor example:
winget show Google.Chrome
Also, you can list all of the installed packages, by running the command below:
winget list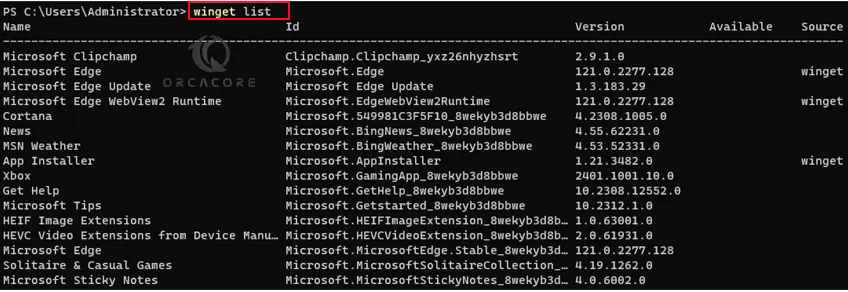
If you plan to uninstall a package by using the Winget on Windows 11, run the following command:
winget uninstall package-IDStep 4 – List of Common Winget Commands
Here we provide a list of available commands that you can use in Winget:
- install: Installs the given package
- show: Shows information about a package
- source: Manage sources of packages
- search: Find and show basic info on packages
- list: Display installed packages
- upgrade: Shows and performs available upgrades
- uninstall: Uninstalls the given package
- hash: Helper to hash installer files
- validate: Validates a manifest file
- settings: Open settings or set administrator settings
- features: Shows the status of experimental features
- export: Exports a list of the installed packages
- import: Installs all the packages in a file
- pin: Manage package pins
- configure: Configures the system into a desired state
- download: Downloads the installer from a given package
Step 5 – Managing Sources with Winget CLI Tool
Managing sources with Winget on Windows 11 allows users to control where Winget searches for available packages. Sources refer to repositories or locations where Winget looks for software packages to install.
Winget installs packages from online repositories. The two official Winget repositories are:
- msstore. The Microsoft Store repository.
- winget. The Winget software repository is maintained by Microsoft.
To check the repositories, you can run the command below:
winget source list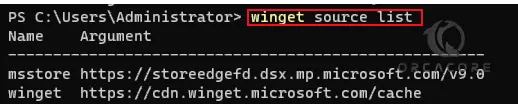
Now you can simply add, remove, and update sources with Winget. To do this, you can follow the steps below:
- Add Sources: You can add additional package sources to Winget using the winget source add command followed by the URL of the source repository. This allows Winget to search for packages from multiple locations.
winget source add --name [name] [url]- Update Sources: You can simply update your existing repositories by using the command below:
winget source update- Remove Sources: If you no longer want Winget to search for packages from a particular source, you can remove it using the following command:
winget source remove --name [name]Note: If you plan to reset winget back to its original configuration, removing all third-party repositories and setting the sources to the default ones, run the command below:
winget source reset --forceConclusion
By learning Winget’s command-line interface, users can easily search for, install, update, and uninstall software applications directly from the command prompt or PowerShell. Additionally, Winget makes the process of managing package sources simple and allows users to customize where Winget searches for available software packages.
Hope you enjoy this guide on set up and use Winget on Windows 11. Also, you may like to read the following articles: