
Share your love
Install AnyDesk on Windows 11: Best Remote Desktop
This guide on the Orcacore website intends to teach you to Install AnyDesk on Windows 11 Step by Step. AnyDesk is a remote desktop program that you will regularly spot near the top of lists of the best remote desktop software. It enables streamlined remote and unattended access, and it’s best for sole proprietors and small businesses.
AnyDesk is a powerful remote access program that can be used in a variety of manners. Here are some of the main things it does:
- Enables streamlined remote access to computers or other devices at a physically distant location, which can be used by those working from home, by students to access faculty computers, and in various other ways
- Connects IT support staff with other departments within your company, enabling them to provide fast, real-time tech support
- Provides technical customer service agents with the tools they need to deliver high-quality remote technical support to customers
- Delivers a wide selection of collaboration tools, including integrated text chat and an interactive whiteboard
- Enables cross-platform connections between a variety of desktop and mobile devices with various operating systems
- Provides a variety of tools for remote workers, including streamlined file transfers, remote printing, and advanced security to protect your files and sensitive data
Table of Contents
Steps To Install AnyDesk on Windows 11
To set up AnyDesk Windows 11, you must log in to your Windows Client and follow the steps below.
1. Download and Install AnyDesk Windows 11
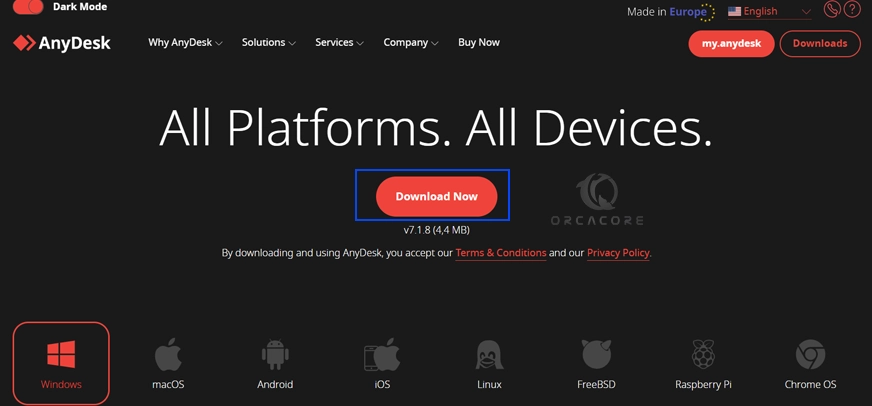
First, you need to visit the AnyDesk Downloads Page and click on the download button to download it on your Windows 11.
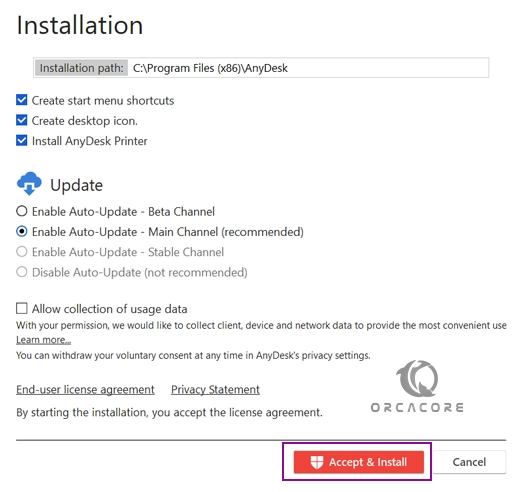
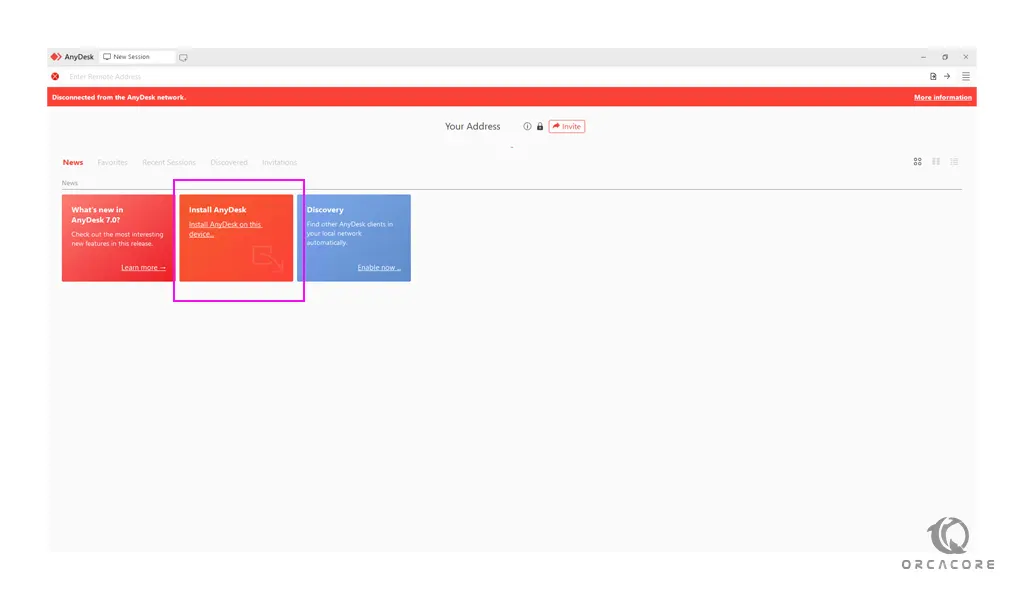
Then, you need to open your downloaded file on your Windows client and click on Install AnyDesk.

In the next window, choose the path that you want to install AnyDesk there on Windows 11 and click on the Accept & Install button.
After your installation is completed, you will see the AnyDesk welcome page. You need to click on the Trial or buy. Here we will use the trial license and register a new account.
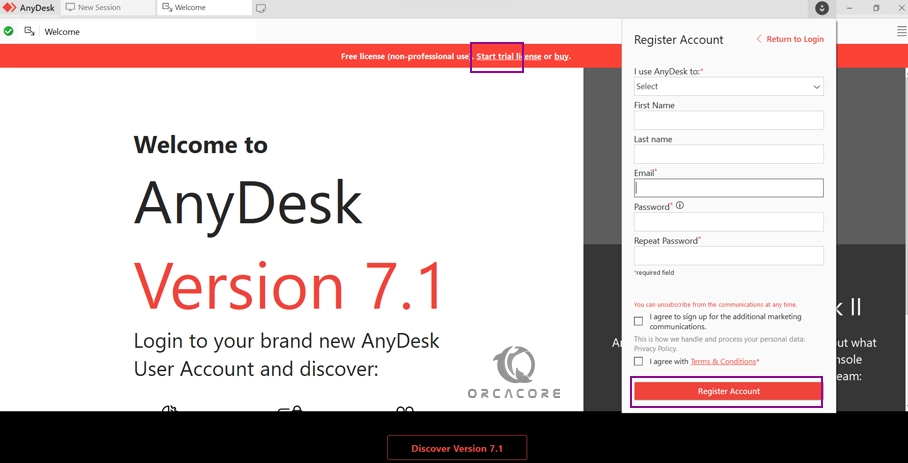
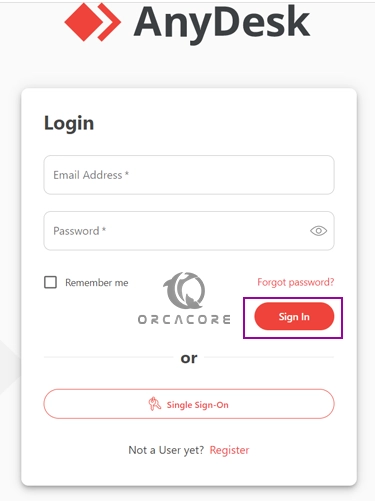
Fill in the information, and click on Register Account. Then, you need to verify your Email address and you will see the AnyDesk Log-in page. Enter your Email and password and click Sign in.
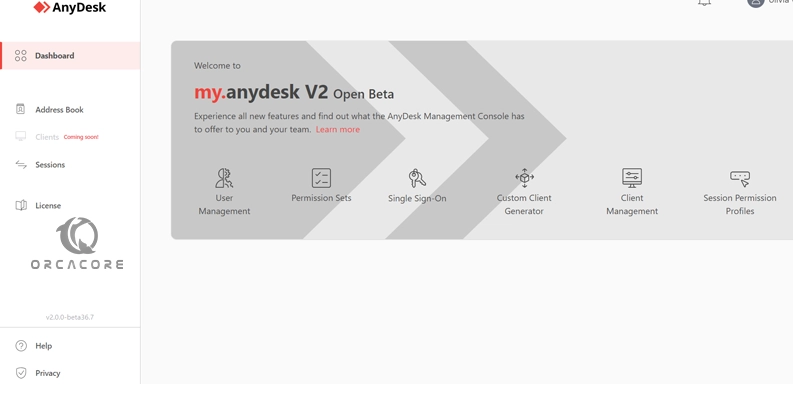
At this point, you should see your AnyDesk dashboard on Windows 11.
AnyDesk allows the user to remotely access the desktop along with its files or documents from anywhere in the world.
It has a built-in address book function, which tracks connections or contacts and allows the user to see those connections’ online status.
Also, it is accessible in areas where there are low bandwidth and poor Internet connectivity.
2. How To Use AnyDesk Windows 11?
From your AnyDesk app, you can click on Sessions and enter the client’s address.

A machine will show up if the address is valid. Click on it and AnyDesk will send a connection request to the remote computer.
Once the user on the other end accepts the connection request, you’ll be able to use the machine from inside AnyDesk.
The same process also works for mobile devices. For Android/iOS, install the AnyDesk app from the respective app store. Launch the app and note the address. Use the address to connect to your phone.
Conclusion
At this point, you have learned To Install AnyDesk on Windows 11. AnyDesk is a great remote desktop application that can help you access computers and servers from your home.
Hope you enjoy using it. You may also like these articles:
Add New Hard Drive on Windows 10
Disable Administrator Account on Windows 11
Find Hostname on Windows 10 and Windows 11
How to Enter the BIOS on Windows 11 PC
