Share your love
Secure Apache with Let’s Encrypt on Ubuntu 20.04

In this article, we want to teach you How To Secure Apache with Let’s Encrypt on Ubuntu 20.04. Let’s Encrypt is a Certificate Authority (CA) that facilitates getting and installing free TLS/SSL certificates by enabling encrypted HTTPS on web servers. The purpose of using Let’s Encrypt with Apache is to get free SSL/TLS certificates, so your website can use HTTPS for secure connections.
You can now proceed to the rest of the article on the Orcacore website to secure your website by using Apache with Let’s Encrypt in Ubuntu 20.04.
Table of Contents
Steps To Secure Apache with Let’s Encrypt on Ubuntu 20.04
To complete this guide, you need some requirements. Let’s see what we need.
First, you need to log in as a non-root user with sudo permissions and a firewall. To do this, follow the article about the Initial server setup with Ubuntu 20.04.
Then, you need a domain name that is pointed to your server’s IP address.
Also, you should install Apache and set up its Virtual host on Ubuntu 20.04 by visiting these articles:
Install Apache on Ubuntu 20.04
Set up Apache virtual host on Ubuntu 20.04.
After these, let’s go back to Secure Apache with Let’s Encrypt on Ubuntu 20.04.
1. Install certbot on Ubuntu 20.04
First of all, you need to install “certbot” to get an SSL certificate with Let’s Encrypt.
sudo apt install certbot python3-certbot-apacheAnswer “y” to complete the installation.
Now certbot is installed on your Ubuntu 20.04. Let’s get an SSL certificate for your domain name.
2. Get an Apache SSL certificate from Let’s Encrypt
At this point, you can get your SSL certificate with Let’s Encrypt by following these steps:
sudo certbot --apacheIt will ask you some questions. The first will ask you to enter your email address for renewal notifications and security notices:
Output
Plugins selected: Authenticator apache, Installer apache
Enter email address (used for urgent renewal and security notices) (Enter 'c' to
cancel): olivia@orcacore.com
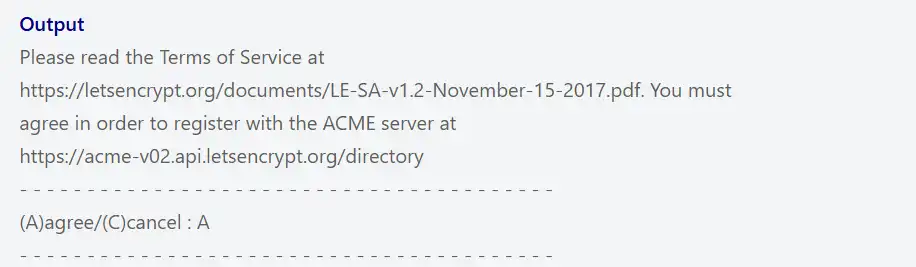
- - - - - - - - - - - - - - - - - - - - - - - - - - - - - - - - - - - - - - - -After entering your email address, press Enter to proceed to the next step. You will be asked to confirm if you agree to Let’s Encrypt’s terms of service. Press ‘A’ to accept and press enter to continue:
At this point, you will be asked to share your email address with the Electronic Frontier Foundation:
Otput
Would you be willing to share your email address with the Electronic Frontier
Foundation, a founding partner of the Let's Encrypt project and the non-profit
organization that develops Certbot? We'd like to send you email about our work
encrypting the web, EFF news, campaigns, and ways to support digital freedom.
- - - - - - - - - - - - - - - - - - - - - - - - - - - - - - - - - - - - - - - -
(Y)yes/(N)no: N
Press ‘N’ to continue. If you want to receive the information, type ‘Y’.
In this step, it is important to set up your virtual hostname at the beginning of the article. Select the domains you want to activate HTTPS for.
Output
Which names would you like to activate HTTPS for?
- - - - - - - - - - - - - - - - - - - - - - - - - - - - - - - - - - - - - - - -
1: stacku.orcacore.net
2: www.stacku.orcacore.net
- - - - - - - - - - - - - - - - - - - - - - - - - - - - - - - - - - - - - - - -
Select the appropriate numbers separated by commas and/or spaces, or leave input
blank to select all options shown (Enter 'c' to cancel): 1
At this point, you will see your output like this:
In the next step, you will be asked to choose whether or not to redirect HTTP traffic to HTTPS, removing HTTP access.
Output
1: No redirect - Make no further changes to the webserver configuration.
2: Redirect - Make all requests redirect to secure HTTPS access. Choose this for
new sites, or if you're confident your site works on HTTPS. You can undo this
change by editing your web server's configuration.
- - - - - - - - - - - - - - - - - - - - - - - - - - - - - - - - - - - - - - - -
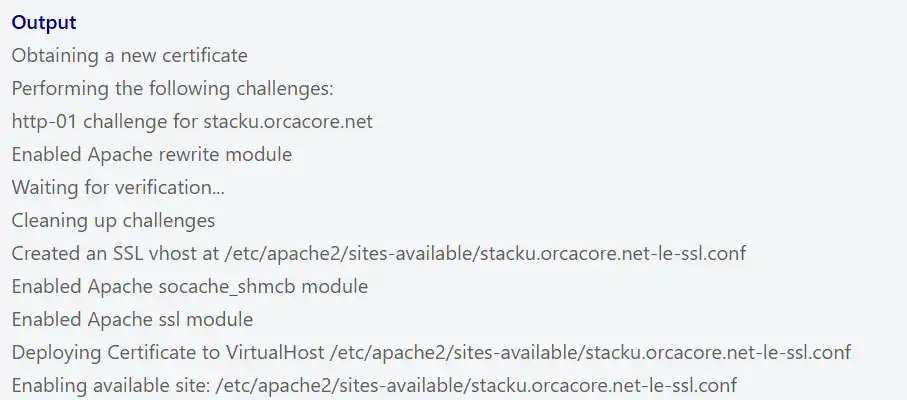
Select the appropriate number [1-2] then [enter] (press 'c' to cancel): 2At this point, the certbot configuration is finished. And you will see this in your output:
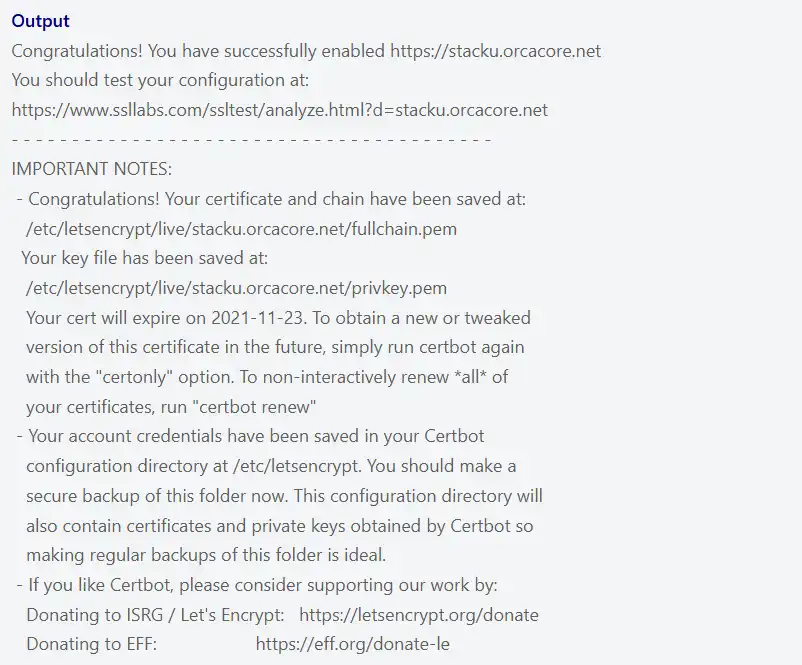
At this point, your certificate with Let’s Encrypt on Ubuntu 20.04 is now installed and loaded into Apache’s configuration.
3. Check your Apache SSL Certificate
At this point, type your domain name in your web browser.
https://stacku.orcacore.netYou will see a page like the image below:
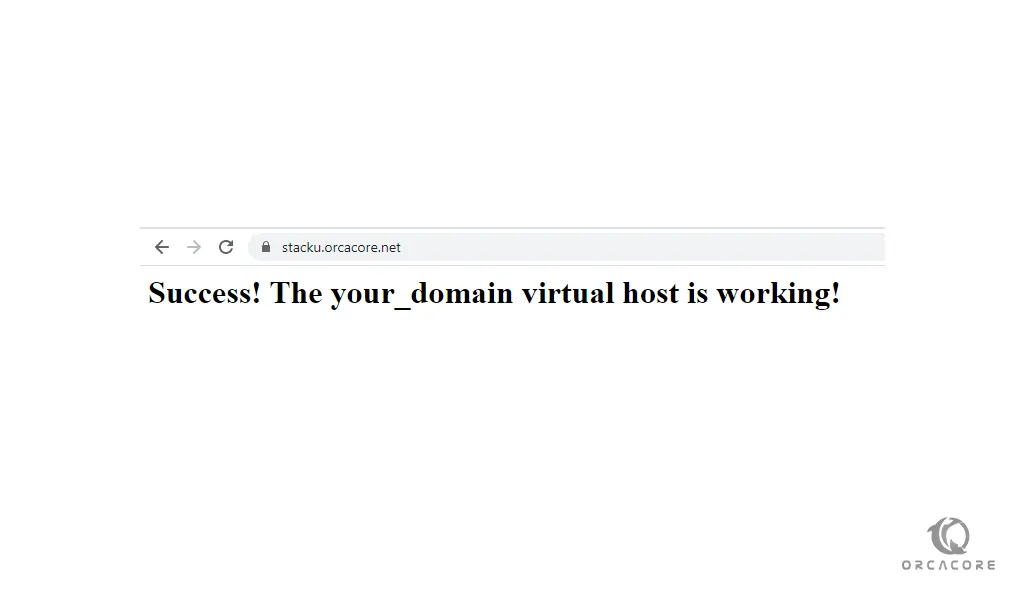
As you can see, the lock icon is in the address bar.
Also, you can use the SSL Labs server test to verify your certificate from Let’s Encrypt. You need to go to the page and enter your hostname there.
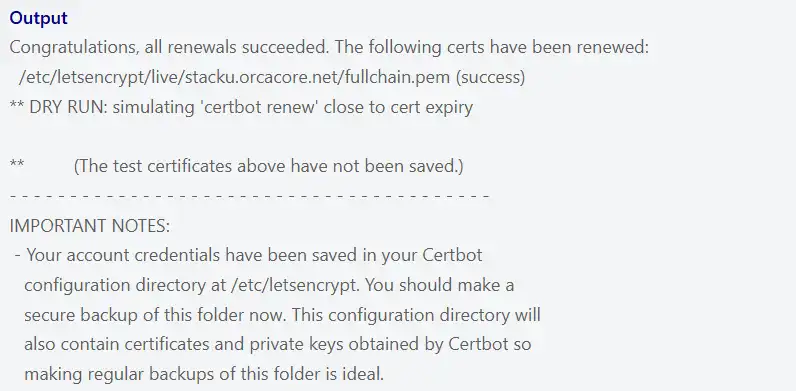
4. Set up Auto-Renewal Certifications Process
In this article, we learn how to secure Apache with Let’s Encrypt on Ubuntu 20.04 and configure it. Now, you should know that Let’s Encrypt certificates are valid for 90 days, but it’s better to renew them every 60 days automatically.
sudo certbot renew --dry-runAt this point, you will see this in your output:
Conclusion
At this point, you have learned to install the certbot utility to get your SSL certificates from Let’s Encrypt for the Apache Web server on Ubuntu 20.04. Also, you have learned to set up the auto-renewal process for your certificates.
Hope you enjoy it. For more guides and articles about the Apache web server, you can visit the Apache tutorials.
You may also like to read the following articles:
Resolve Failed to start The Apache HTTP Server