Share your love
Complete CheckMK Setup on AlmaLinux 9 / Rocky Linux 9

This guide intends to teach you CheckMK Setup on AlmaLinux 9 / Rocky Linux 9. CheckMK is an open-source monitoring tool used for monitoring the performance and health of IT infrastructure, including servers, networks, applications, and services. It offers a comprehensive set of features designed to simplify the monitoring process. The key features including:
- Flexible Monitoring
- Agent-based and Agentless Monitoring
- Automatic Discovery
- Rich Visualization and Dashboards
- Alerting and Notification
- Performance Analysis and Trending
- Integration with Other Tools
Table of Contents
Step-By-Step CheckMK Setup Guide For AlmaLinux 9 / Rocky Linux 9
At this point, you need to log in to your AlmaLinux 9 or Rocky Linux 9 as a non-root user with sudo privileges. For this purpose, you can check the following initial setup guides:
Initial Server Setup with AlmaLinux 9
Initial Server Setup with Rocky Linux 9
Also, you need to disable SELinux on your server. To do this, you can check:
Now proceed to the following steps to CheckMK Setup on AlmaLinux 9 / Rocky Linux 9. Here to show you the setup steps, we use AlmaLinux 9.
Step 1 – Install Required Packages For CheckMK Setup
First, you need to run the system update with the command below:
sudo dnf update -yThen, install PowerTools on your server with the following command:
sudo dnf config-manager --set-enabled crbNext, install the Epel repository by using the following command:
sudo dnf install https://dl.fedoraproject.org/pub/epel/epel-release-latest-9.noarch.rpmStep 2 – Latest CheckMK Setup on AlmaLinux 9 / Rocky Linux 9
At this point, you can visit the downloads page and get the latest Raw Edition RPM package on your server. The raw edition is the open-source version. To do this, use the following wget command:
sudo wget https://download.checkmk.com/checkmk/2.2.0p21/check-mk-raw-2.2.0p21-el9-38.x86_64.rpmOnce your download is completed, run the command below to install your RPM package:
sudo dnf install check-mk-raw-2.2.0p21-el9-38.x86_64.rpmThen, you can verify your CheckMK installation on your Rocky Linux 9 / AlmaLinux 9 with the command below:
omd versionExmaple Output
OMD - Open Monitoring Distribution Version 2.2.0p21.creStep 3 – Set up CheckMK Monitoring Site
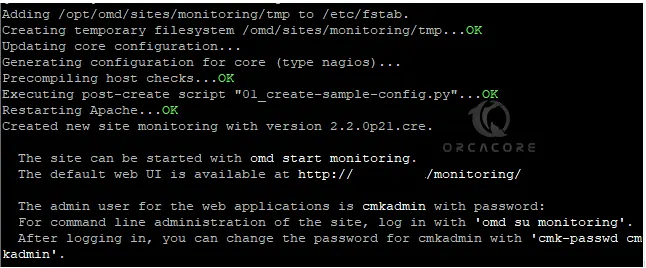
At this point, you need to create a Checkmk monitoring site that can be accessible from the local browser. To do this, you can run the following command:
sudo omd create monitoringThis provides you with a username and password that you can use to log in to the dashboard.
Then, start your CheckMK monitoring site on AlmaLinux 9 / Rocky Linux 9:
sudo omd start monitoring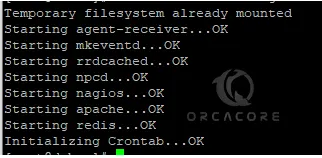
Step 4 – Access CheckMK Dashboard via Web Interface
At this point, you have completed CheckMK Setup on AlmaLinux 9 / Rocky Linux 9. Now you can use the URL you have got from the above steps and enter the username and password to access your CheckMK web interface.
http://server-ip/monitoring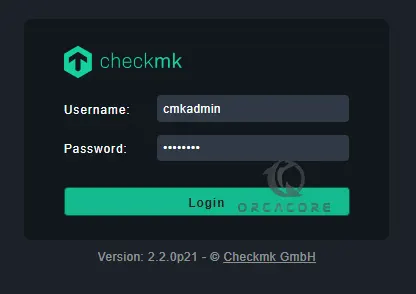
You should see your main dashboard.
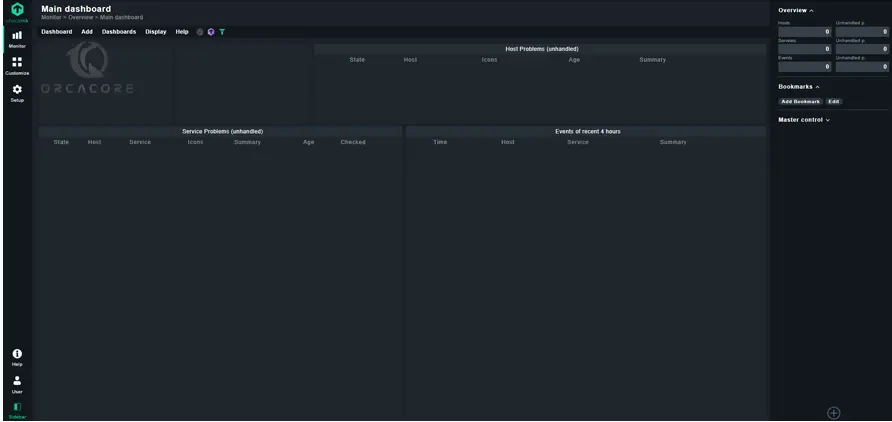
From there, you can easily monitor your servers, networks, applications, and services.
Conclusion
At this point, you have learned CheckMK Setup on AlmaLinux 9 / Rocky Linux 9. It is a powerful monitoring solution that helps organizations ensure the reliability, availability, and performance of their IT infrastructure
Hope you enjoy it. Also, you may like to read the following articles:
Rocky Linux 9 Network Monitoring Using Nagios
Best Linux System Monitoring GUI Tools