
Share your love
Best Way To Delete Unnecessary Files on Windows 11

This guide will show you the best ways to Delete Unnecessary Files on Windows 11 to clean up your system storage. Unnecessary and junk files on Windows including temporary files created by internet cache and cookies, applications, etc. Deleting junk files will increase your system performance, free up disk space, protect your privacy, and make your updates and software installations smoother.
Table of Contents
Learn To Delete Unnecessary Files on Windows 11
ToDelete Unnecessary Files on Windows 11, log in to your Windows Client, and follow the steps below. You can remove the junk files on your system by using the following methods:
- Empty Recycle Bin
- Use Storage Sense
- Delete Temp Files
- Run Disk Cleanup
- Use a third-party tool
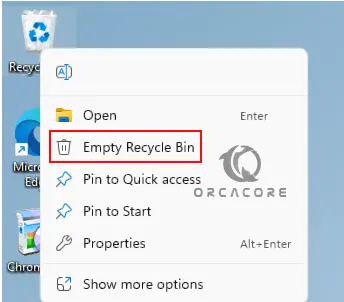
Step 1 – Empty Recycle Bin on Windows 11
The most useful and clear way to delete unnecessary files is to empty your recycle bin. The deleted files and used files are available in the recycle bin until you completely remove them. To do this, you can right-click on your Recycle Bin and select Empty Recycle Bin.
Step 2 – Remove Temporary Files on Windows 11
Another way that you can delete unnecessary files is to remove temp files. These files are created by Windows or apps to store the data or information. Usually, these temp files are safe to remove on Windows 11.
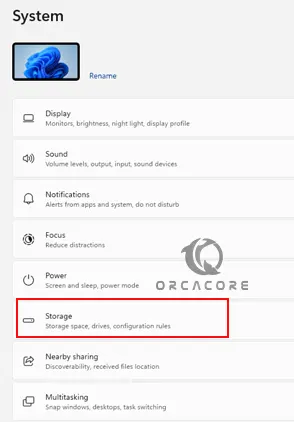
To do this, from your System settings navigate to the storage option.
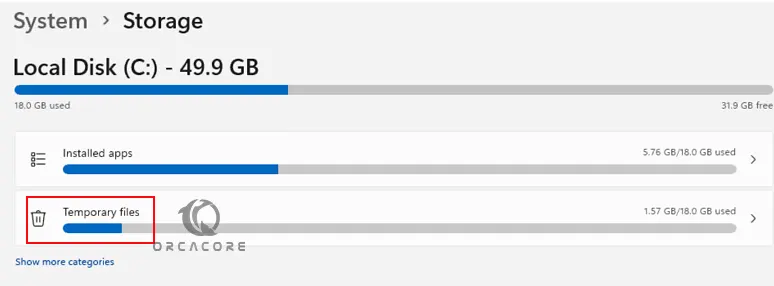
Then, click on Temporary Files.
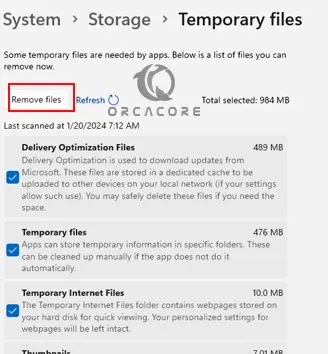
Next, you can simply click on Remove files.
Step 3 – Use Storage Sense To Remove Temp Files on Windows 11
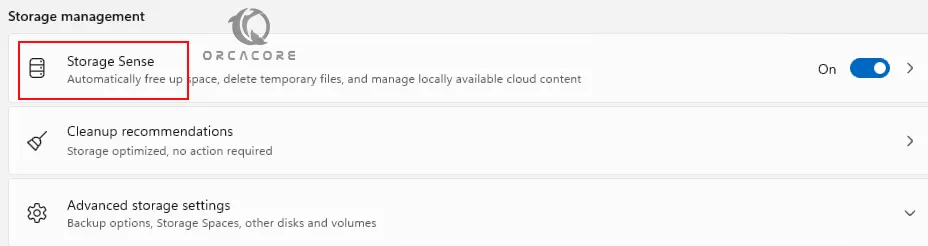
Also, you can use a tool on your Windows 11 called Storage Sense that is used to automatically remove temp files and free up disk space. To do this, from your system storage, click on Storage Sense.
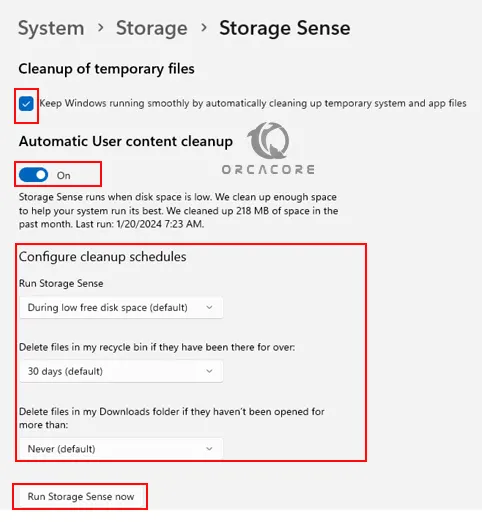
First, check the box next to Keep Windows running smoothly. Then, turn on automatic user content cleanup.
Next, you can set your cleanup schedules. When you are done, click on Run Storage Sense Now. This will remove your junk files and will run automatically with your schedule plan.
Step 4 – Run Disk Cleanup on Windows 11
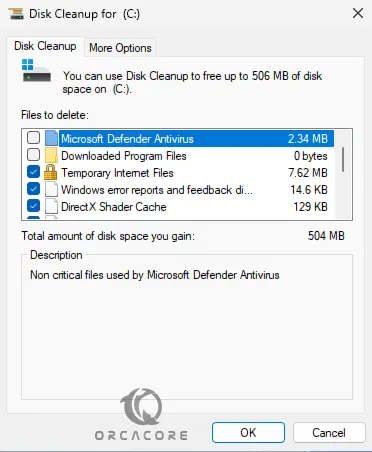
At this point, you can use the Windows Disk Cleanup tool to remove your unnecessary and junk files from your system. To do this, you can type Disk Cleanup from your search bar to open the tool.
From there, you can easily choose your desired drive, select the items you want to remove, and click OK.
Step 5 – Use a Third-party Tool To Remove Junks Files on Windows 11
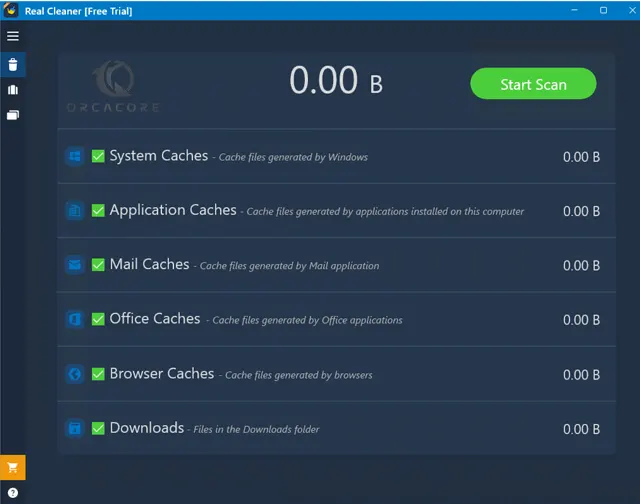
There is another way that you can remove your unused and junk files from your system. You can use a tool on Windows that finds and removes your junk files. For example, you can use the Real PC Cleaner app to do this. It is a free PC cleaner tool to clean up disk space, Speed up your Windows OS, and protect your privacy.
First, download and install the Real PC Cleaner on your system.
Then, you can select your desired drive and start to scan your junk files and clean them.
Conclusion
At this point, you have learned to Delete Unnecessary and Junk Files on Windows 11. This action is necessary for your system to free up space, and protect your system privacy. Also, it will make your app installation smoother.
Hope you enjoy it. Also, you may like to read the following articles:
Most Useful CMD Commands on Windows


