Share your love
Install Java and Set the PATH on Windows 11 Efficient Steps

This guide intends to teach you to Install Java and Set the PATH on Windows 11. Java is a high-level and object-oriented programming language. It is the most widely used programming language that is used for building enterprise-scale applications, web development, and mobile applications.
The term “Java path” typically refers to the system environment variable called “PATH” which includes the directory where the Java executable files are located. Adding this directory to the system’s PATH variable enables you to run Java commands from any location without specifying the full path to the Java executable.
You can now proceed to the following guide steps provided by the Orcacore team to Install Java and Set the PATH on Windows 11.
Table of Contents
A Comprehensive Guide To Install Java and Set the PATH on Windows 11
Before you start your Java installation, log in to your Windows Client and follow the steps below to Install Java and Set the PATH on Windows 11.
Step 1 – Download the Latest Java for Windows
First, you must visit the Oracle Java Downloads page and download the latest package installer for Windows. At the current time, the latest version is Java 21.

Once your installation is completed, open the download file to start your installation.
Step 2 – Run Java Installer on Windows 11
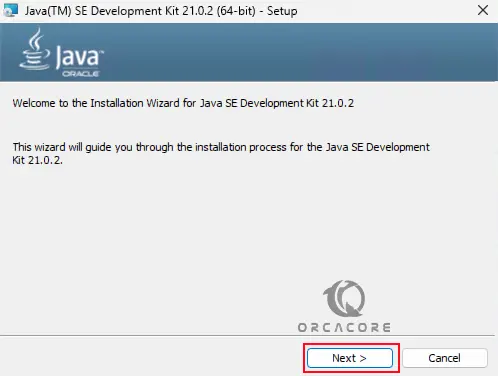
At this point, you will see your Java setup wizard. On the welcome screen click Next.
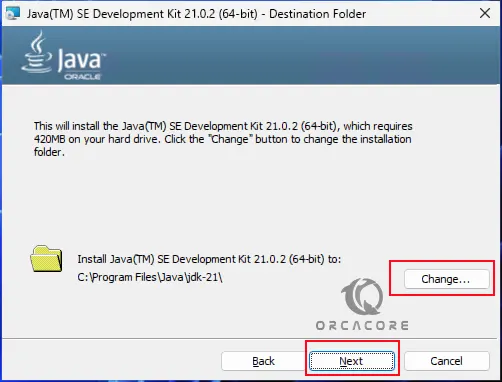
Next, select your Java installation folder or keep the default and click Next.
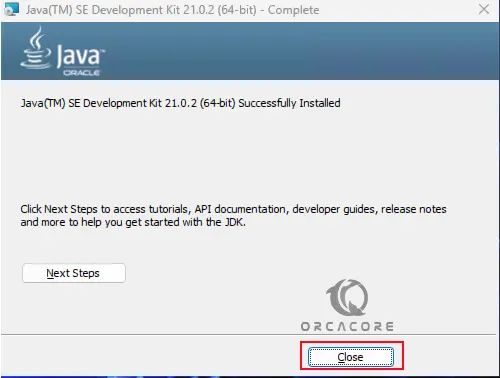
Wait until your installation process is completed. Then, click on the Close button.
Step 3 – Set Java Environment PATH on Windows 11
As we said, you must add the Java path to the system’s path so that you can run Java commands from anywhere you want without specifying the full Java location. To do this, you need to open the system environment path.
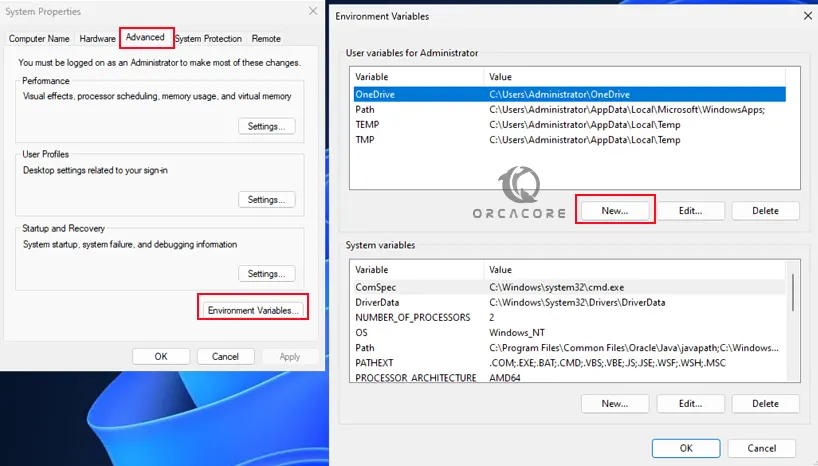
Open system properties. Navigate to the Advanced tab and click on Environment Variables. Under user variables, click on New.
Then, give the Java_Home as your variable name and browse your JDK installation folder to add the variable value.
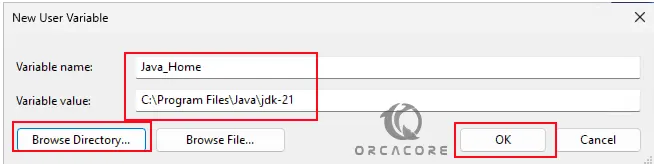
Click OK to save the changes.
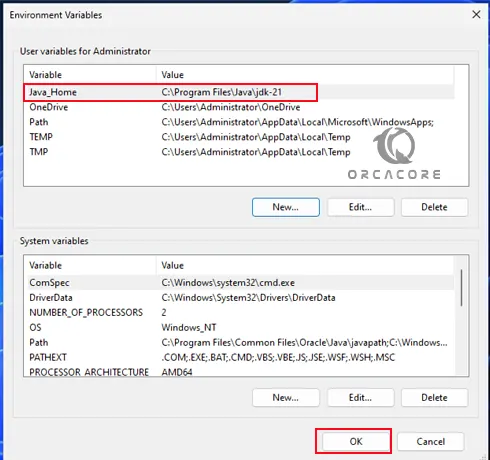
Finally, restart your Windows 11 to apply the changes.
Step 4 – Verify Java and PATH Setup on Windows 11
At this point, you can open a Command Prompt and verify your Java installation by checking its version:
javac -version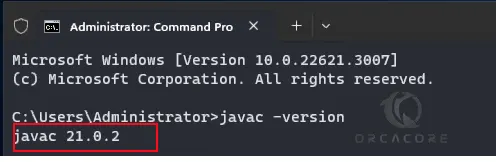
Also, verify your Java PATH by using the following command:
echo %JAVA_HOME%
That’s you are done.
Conclusion
At this point, you have learned to Install Java and Java Home PATH on Windows 11. Setting the Java path is essential for Java development, as it ensures that the system recognizes and executes Java commands from any location in the command-line environment.
Hope you enjoy it. Also, you may like to read the following articles:
Manage SSDP Network Discovery on Windows 11
Configure BitLocker Encryption on Windows 11 Pro
FAQs
Where should I install Java on my Windows 11 computer?
Java typically installs under C:\Program Files\Java\ by default. But you can change the installation path.
What is the purpose of setting the PATH variable for Java?
With this option, you can run Java commands from any directory in the Command Prompt without having to specify the full path each time.