Share your love
Disk Management in Windows 11 – Partition Hard Drive
In this guide, you will learn to Access Disk Management in Windows 11 and Create a Hard Drive Partition. Disk Management is a powerful tool for managing disk storage on Windows 11. It offers a range of features to help users organize and optimize their storage resources. Hard drive partitions in Windows 11 offer a flexible way to organize and utilize storage resources, providing users with greater control over their data and system configuration.
Table of Contents
What is Windows Disk Management?
Disk Management in Windows 11 is a built-in utility that allows users to manage disks and volumes on their computers. It provides tools for tasks such as creating, formatting, resizing, and deleting partitions on hard drives or solid-state drives (SSDs).
With this powerful tool, you can do different disk-related operations including:
- Creating and Formatting Partitions
- Resizing and Extending Partitions
- Assigning Drive Letters
- Deleting Partitions
- Changing Partition Properties
- Viewing Disk Information
Now proceed to the following steps to Access Disk Management and Create a Hard Drive Partition on Windows 11.
Access Disk Management in Windows 11 – Create a Partition Hard Drive
Before you start your setup, you need to log in to your Windows Client and follow the steps below.
You can access Disk Management by using CMD or the user menu.
Step 1 – Access Disk Management in Windows 11
Those who are comfortable with the command line interface can use Command Prompt to open the disk management. To do this, run your CMD as an administrator, and run the following command:
diskmgmt.msc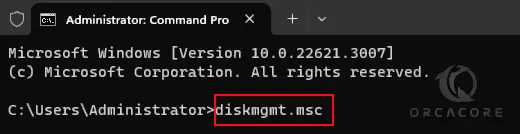
Note: To learn CMD commands, you can check this guide on Essential Windows CMD Commands.
Or you can easily access your disk management by right-clicking on your Windows icon and selecting Disk Management.
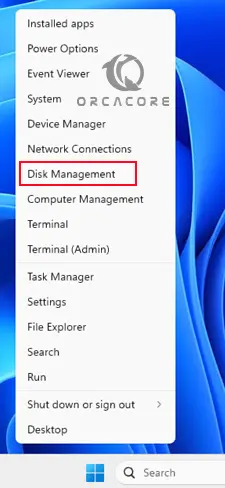
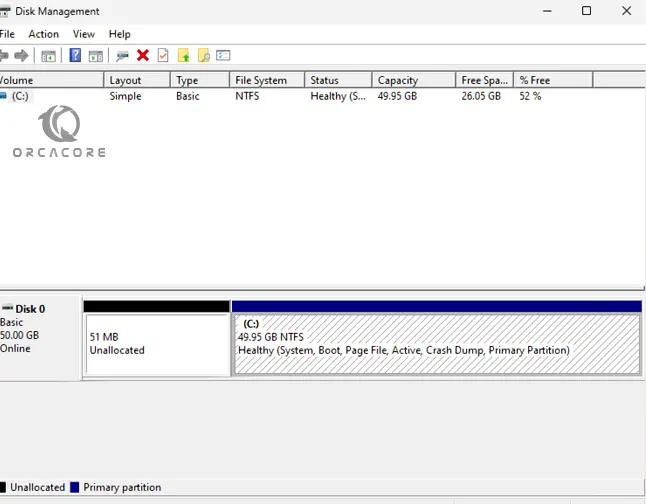
These two methods will open your Disk Management app.
Now proceed to the next step to create a Hard Drive Partition in Windows 11.
Step 2 – Create a Partition Hard Drive in Windows 11
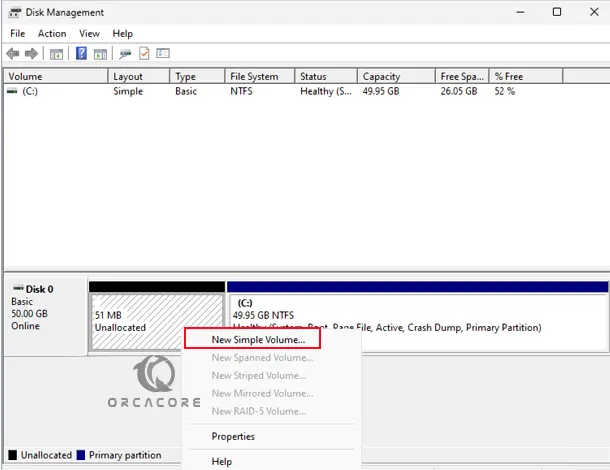
At this point, you need to right-click on the drive with “Unallocated” space and select “New Simple Volume“.
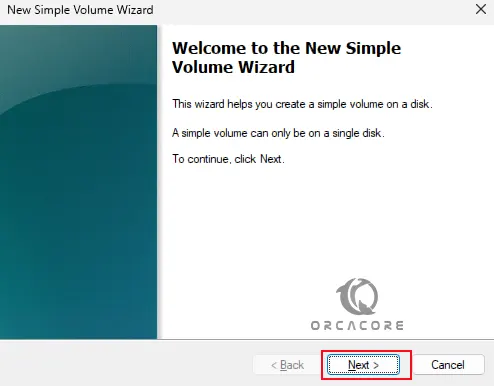
Then, you will the new simple volume wizard. At the welcome screen, click Next.
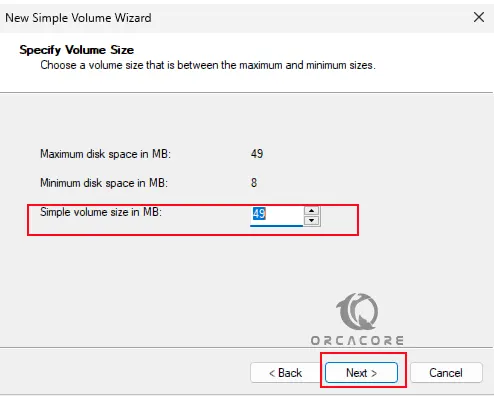
Specify your volume size and click Next.
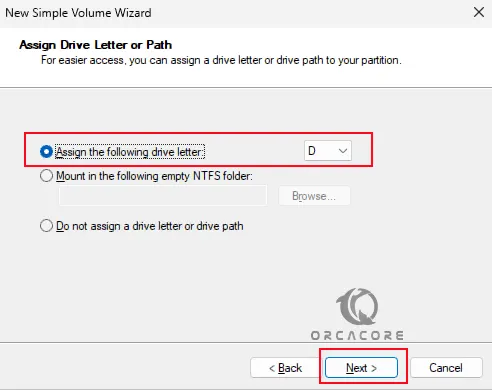
Now specify your drive letter or path and click Next.
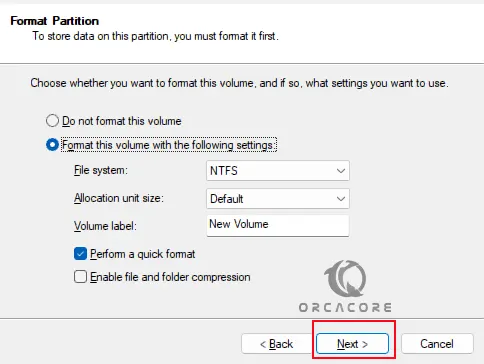
Then, to store the data in the partition, you must format it. You can keep the default value and click Next.
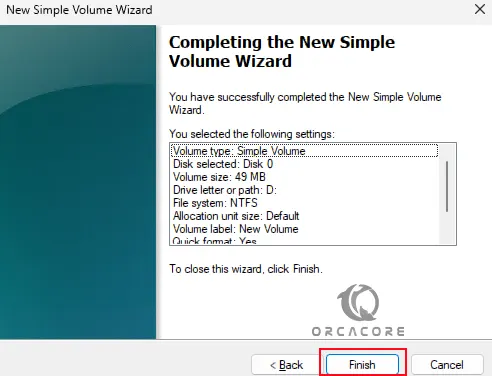
Finally, click Finish to complete the process and create the partition.
As you can see, your partition has been created successfully in Windows 11.
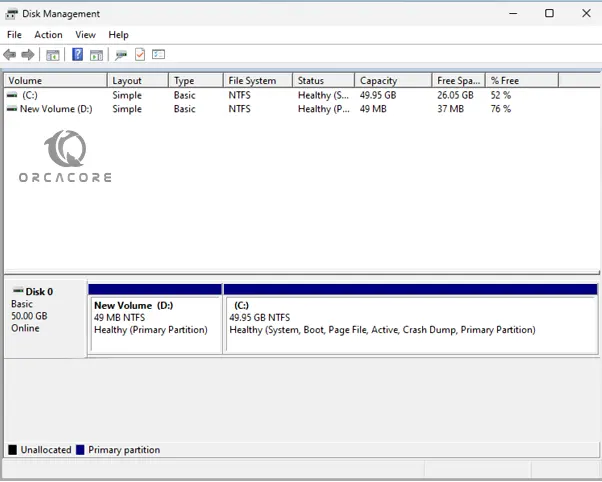
From the disk management app, you can easily create, delete, manage, and delete partitions.
Final Words on Disk Management
In conclusion, Disk Management in Windows 11 is a powerful utility that allows users to manage their disk storage. With its comprehensive features, Disk Management allows users to perform a wide range of tasks, including creating, formatting, resizing, and deleting partitions. Hope you enjoy it.
Also, you may like to read the following articles:
Install Java and Set the PATH on Windows 11