Share your love
How To Set up PostgreSQL on CentOS 7
In this article, we want to teach you How To Set up PostgreSQL on CentOS 7. PostgreSQL is an open-source, enterprise-class database management system. It supports both SQL and JSON for relational and non-relational queries for extensibility and SQL compliance.
PostgreSQL supports advanced data types and performance optimization features that are typically only available in expensive commercial databases, such as Oracle and SQL Server.
Also, it is known as Postgres.
Now, proceed to the guide steps below on the Orcacore website to complete PostgreSQL setup on CentOS 7.
Table of Contents
How To Set up PostgreSQL on CentOS 7?
Before you start to install PostgreSQL on CentOS 7, you need to log in to your server as a non-root user with sudo privileges. To do this, you can follow our article the Initial Server Setup with CentOS 7.
Now you can follow the steps below to install PostgreSQL on CentOS 7.
1. Install PostgreSQL on CentOS 7
Here, you will install PostgreSQL from the default CentOS repository. First, update your local package index with the command below:
sudo yum update -yThen, you can install PostgreSQL and its dependencies on CentOS 7 with the command below:
sudo yum install postgresql-server postgresql-contrib -yWhen your installation is completed, you can initialize your database with the following command:
sudo postgresql-setup initdbNow you can use the following commands to start and enable PostgreSQL on boot:
sudo systemctl start postgresqlsudo systemctl enable postgresqlVerify that your PostgreSQL is active and running on your CentOS 7 with the command below:
sudo systemctl status postgresqlIn your output, you will see:
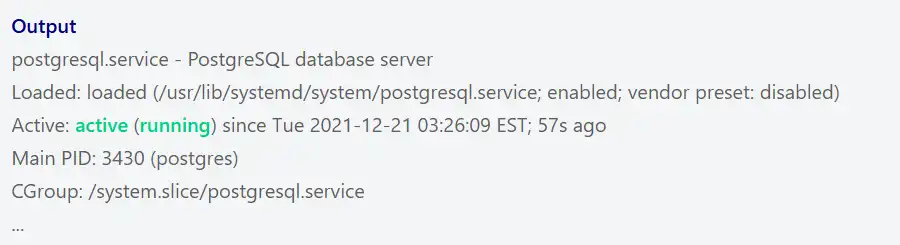
At this point, you have PostgreSQL active and running on your CentOS 7. Let’s see some basic usage of PostgreSQL.
2. How to Use PostgreSQL on CentOS 7?
During the PostgreSQL installation, a user named Postgres will be created. You can change the Postgres user password with the command below:
sudo passwd postgresYou will be asked to enter the password, and in your output, you will see:
Output
passwd: all authentication tokens updated successfully.
Now you can switch to the PostgreSQL shell on CentOS 7 with the following command:
su - postgresNote: If you receive an error, you can set a valid shell on the user with the following command:
su --shell /bin/bash postgresThen, you can run the same command:
su - postgresYou can change the PostgreSQL Postgres user password with the command below:
psql -d template1 -c "ALTER USER postgres WITH PASSWORD 'NewPassword';"Remember to change the phrase ‘NewPassword’ with your own.
Here you can switch to the PostgreSQL user shell on CentOS 7 with the following command:
psql postgresIn the Postgres shell, you can type \h to list the available commands:
postgres=# \h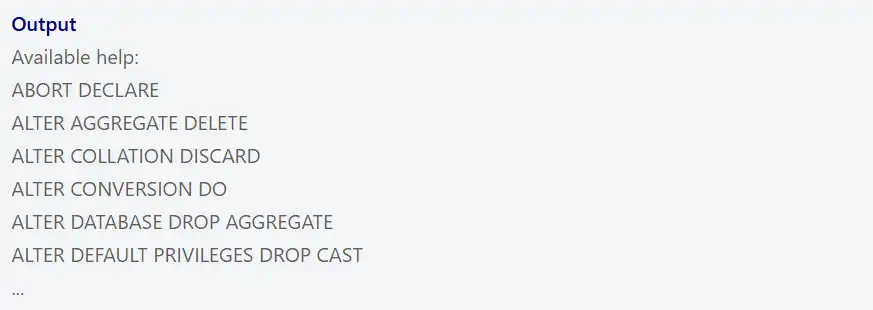
To exit the environment, you can type \q.
Also, you can create new databases. With the following command, we create a database named testDB with the Postgres Linux user:
createdb testDBNext, you can create a new role with the Postgres Linux user on CentOS 7 by using the following command. Here, we named it samplerole:
createuser -P sampleroleYou will be asked to set a password for your new role.
Now you can connect to the new database that you have created with the following command:
psql testDBYou can use \l or \list commands to show all the databases. To know the current database you’re using, you can use \c. In case you want more information about connections, such as the socket, port, etc. Then, you can use \conninfo.
To delete a database, you can use the following command:
dropdb testDBFor more information, you can visit the PostgreSQL Documentation page.
Conclusion
At this point, you have learned to set up PostgreSQL on CentOS 7. You can use PostgreSQL in data storage and management, app development, data analytics, machine learning, etc.
Hope you enjoy using it.
Maybe you are interested in these articles:
How To Set up PostgreSQL on Ubuntu 20.04