Share your love
How To Install cPanel WHM on AlmaLinux 8

In this guide, we intend to teach you How To Install cPanel WHM on AlmaLinux 8.
cPanel is an online Linux-based graphical interface (GUI) used as a control panel to simplify website and server management. cPanel allows you to publish websites, manage domains, organize web files, create email accounts, and more.
cPanel has two interfaces, a user interface called cPanel and a server management interface called Web Host Manager (WHM). This combination allows users to manage their websites and supplies hosting providers with tools to manage the server.
How To Install cPanel WHM on AlmaLinux 8
To install cPanel, you must log in to your server as a non-root user with sudo privileges or a root user. To do this, you can follow our guide the Initial Server Setup with AlmaLinux 8.
Now follow the steps below to complete this guide.
Requirements
First, you need to update your local package index with the following command:
dnf update -y
Then, you must disable the AlmaLinux OS firewall using the following commands:
iptables-save > ~/firewall.rules
systemctl stop firewalld
systemctl disable firewalld
To make your system compatible with the cPanel installation, you must disable SELinux. To do this, open the SELinux config file with your desired text editor, here we use vi:
vi /etc/selinux/config
Find the SELinux line and set it to disabled as shown below:
...
SELINUX=disabled
...
When you are done, save and close the file.
Then, use the following command to install the required packages and dependencies on AlmaLinux 8:
dnf install perl curl
Next, you must add a hostname that should be in (FQDN) Fully Qualified Domain Name format. You can set your hostname with the following command:
hostnamectl set-hostname cpanel.almalinux
Note: Remember to use your own hostname instead of cpanel.almalinux.
When you are done with these requirements you can continue to install cPanel on your server.
Install cPanel on AlmaLinux 8
At this point, we use this script to install the cPanel with a trial license:
cd /home && curl -o latest -L https://securedownloads.cpanel.net/latest && sh latest
Note: If you get an error that could not resolve the host, Check if the server has internet. For example:
ping 8.8.8.8If you don’t have a connection, edit the /etc/resolv.conf and add the following line to your file:
nameserver 8.8.8.8
When you are done, save and close the file. Then, run the script again and it works.
cd /home && curl -o latest -L https://securedownloads.cpanel.net/latest && sh latest
This will take some time to complete. Be patient!
When your cPanel installation is completed on AlmaLinux 8, enable the Network Manager service with the commands below:
service NetworkManager start
chkconfig NetworkManager on
Note: It is not essential to reboot the server, but you can still restart all installed services through the below command:
reboot
At this point, you can log in to your WHM.
Access cPanel WHM Web Interface
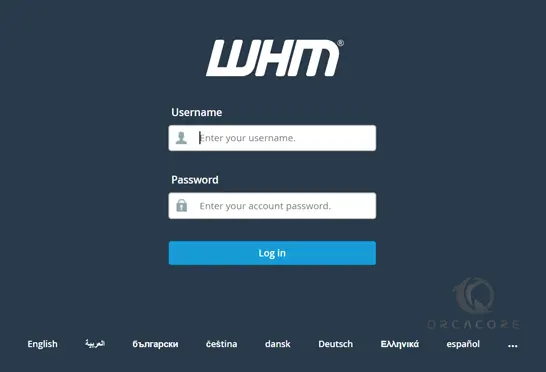
To access the WHM login screen, type your server’s IP address in your web browser followed by 2087:
https://your-server-ip:2087
In the WHM login screen, you should enter your AlmaLinux root user and password and click login to access data for cPanel.
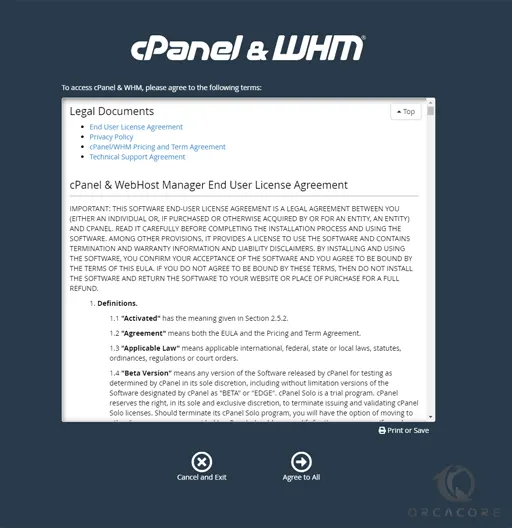
Then, read cPanel terms and conditions and click Agree to All.
As you can see, it asks to login into your cPanel Store account, which we will create now, so choose login to continue.

In this step, there are 2 options that we can choose from. To login to your cPanel Store account if you have one, or to sign up for it.
Click Create an account if you don’t have one.
Enter your email address, agree to cPanel terms of use, and click to create an account.
Consider that if you are logged in to your email in the same browser that you are configuring the WHM and creating the account, you will be asked to allow access to the IP of your server to be connected to the email address you entered.
To do so, choose to allow access.
Note: Otherwise, if you are not logged in to your email in the same browser, you should click on the link you will receive to set a password for your account. Then you can go one step back and try to log in.
In this step, you will receive a code that you should enter.
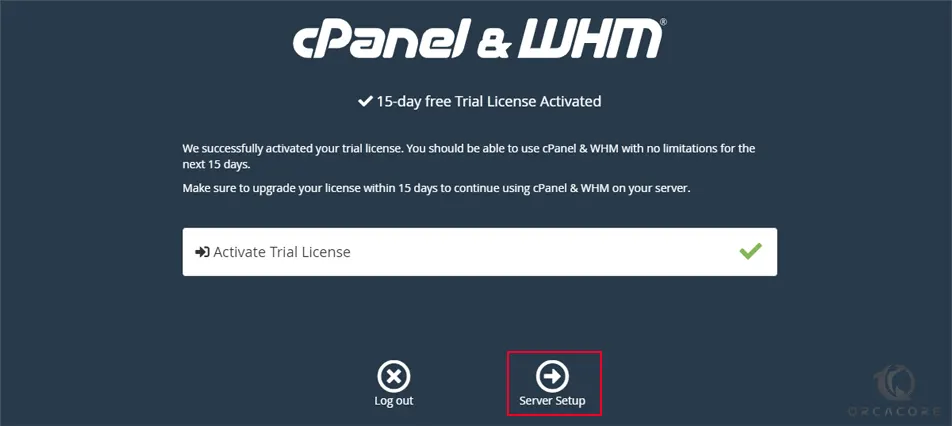
This page shows that your trial license activation was successful. So you can continue to the server setup section.
In the next section, you should enter an email address to receive probable error notifications from WHM.
Then you should enter 2 name servers. Name servers are used to connect your domain or subdomain to your WHM server.
Note: You should also create these as child name servers in your domain control panel too.
When you are finished, you will see your WHM dashboard on AlmaLinux 8.
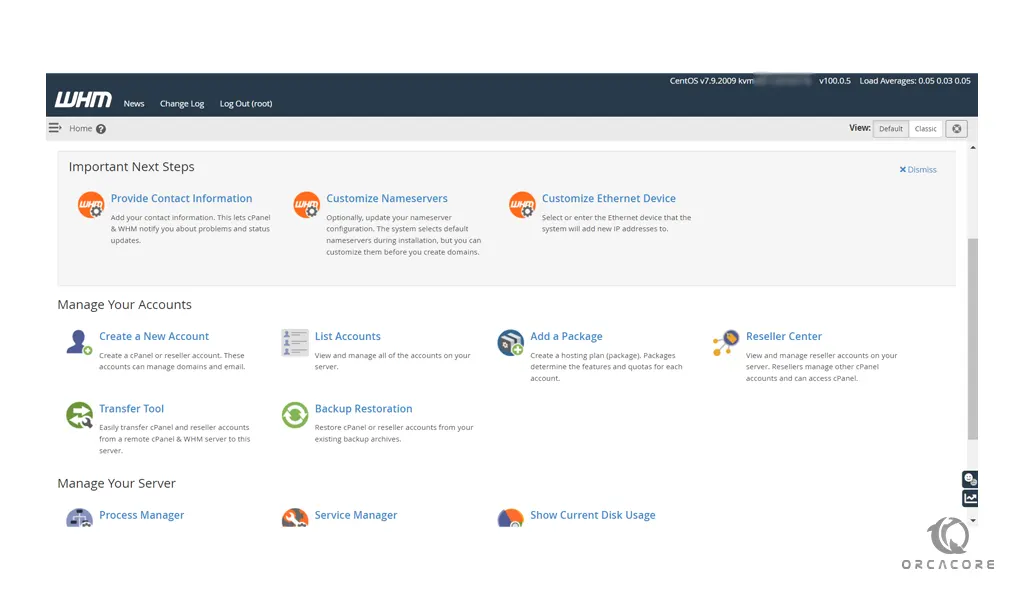
How To Use cPanel WHM
From WHM you can easily perform your tasks. Here we bring you useful content about WHM that you can use:
Create a cPanel account on WHM
How To Set up JetBackup for cPanel
How To Create a New Remote Access Key on WHM
Check the Service Status on WHM
How To Enable FTP Server on WHM
How To Use EasyApache on cPanel
Set up LiteSpeed in cPanel and WHM
Install and Configure CSF Firewall on cPanel
How To Create a Package on WHM for a cPanel Account
Conclusion
At this point, you learn to Install cPanel WHM on AlmaLinux 8.
I hope you enjoy it.